
Meet Your New Digital Assistant
Your New KvCORE Website

Key Website Features
Home Page
Your home page has a property search bar front and center, so consumers can go straight to listings!
Registration Prompt
Visitors to your website will have a certain number of clicks or interactions with listings before they’ll be asked to register and create an account. These settings can be adjusted within your account.
Property Carousels
Multiple options are available for including property carousels on your home page.
Custom Pages
Create your own content to showcase your business and your specialties! By default, they’ll appear under resources but you can customize your navigation.
Custom Navigation
After adding your custom pages and categories to your website, you can then attach them to the main navigation on your kvCORE website.
This is done in your Web & IDX settings after your pages are added. You cannot set up your navigation options until the pages or categories you want have been created.
Customer Account
Once consumers register on your site they can access their account and view and edit saved searches.
Changes you make will appear for the consumer in their account area, and changes they make will appear on the Alerts tab on their contact record.
Pro Tip:
When possible, access your agent website through the link on your KvCORE Dashboard. This will allow the system to recognize you as the site’s owner and won’t prompt you to register as a new lead.

What Website Settings Can I Control?
While you don’t have to do so to have a fully functional website, there are a lot of ways add some customizations to your company-provided KvCORE website.
Visual Settings
- Pre-configured widget bundles
- Change header background image
- Add a header background video
- Add a logo
- Update your website Title
- Add MLS-wide listing carousels
- Default listing sort order
Functional Settings
- Connect Zillow reviews
- Update names of standard pages
- Customize navigation menu
- Add Analytics tracking code
- Choose visible listing types
- Change default listing sort order
- Default listing display settings
- Create popular search options
Home Page Widgets
Your home page has quite a few different customization options available! Choose from a selection of pre-configured widget layouts or build your own and decide on their order on the page.
Site Content
Options for custom site content include your testimonials, Service Area SEO pages, and the ability to create as many custom pages as you’d like!
Blog
Your new KvCORE website has a fully integrated blogging option! Create your own articles as you see fit for use in marketing campaigns, sharing on social media, including in email newsletters and more!
Would you like to know more about the ways you can customize your website? Check out this support article.
Would you like to know more about homepage editing options for your website? Check out this support article.
Would you like to know more about customizing your website’s navigation? Check out this support article.

Testimonial Tree Integration
We’ve automatically connected your Testimonial Tree account to your KvCORE account to make your life easier!
So how’s it work? The sync occurs each day at 3 am, so any new testimonials you may receive during the day will not be available in KvCORE until the next morning.
By default your testimonials will populate on your website under the ‘Your Agent’ tab, on the ‘Testimonial’ page. Please note, we’ll only be syncing 4 or 5 star ratings! If you happen to receive feedback with a rating lower than that, it will not be included.
Your testimonials are managed in KvCORE’s Web & IDX settings > Content. If you wish, you can delete testimonials that have synced over from KvCORE’s system so they’re no longer included on your site.
Would you like to know more about testimonials in KvCORE? Check out this support article.

Create Custom Pages
Custom pages are additional pages that you create for your kvCORE website.
You can add images, text, and even video! There’s an easy-to-use editor that can be utilized to design the content of your pages. For those with experience with code, the HTML of custom pages can be edited using the ‘<>’ icon in the editor to access the source code.
Your custom pages will typically be accessible on your site from your website’s main navigation. By default they’ll be located under ‘Resources’ tab, but you can also customize your navigation menu.
They can be one of two things:
A Link To Another Page
That means that if someone sees the title of your custom page somewhere on your kvCORE site, and they click on it, they are sent to a URL that you specify.
A Page Containing Content
They can be a page that contains just about any content you want to put into it, that is part of your kvCORE website.
Custom Page Settings Include:
Title
This is the title of the page as it will show on the ‘Resources’ page or in the main navigation of your website if you specify it in your website settings.
Category
This is the name of the section the page will be nested under on the ‘Resources’ page. It will also be used to name the menu item in your main navigation if you choose to specify it in website settings.
Meta Tag Description
The Meta Tag description for the page. Recommended to be two sentences. If you are not familiar with SEO, simply describe what your page is about using two short sentences.
Meta Tag Keywords
The literal meta tag keywords for the page. Recommended as single words separated by commas. If you are not familiar with SEO, just specify a few words that are relevant to the information actually on the page. Do not enter words that are not related (in a contextual sense.) For example, if your page is about Dog Parks near area X, then enter “dog parks, area x”
Slug
This is how the URL will look to access the page. It’s generated automatically from the title, and you can edit it additionally if necessary.
RSS/Property Feed
You can embed an RSS Feed into the space to the right of where the custom page is. This is useful for supplying a news feed that relates to the page you are posting. Just enter the URL of the feed.
Where do I get the RSS Feed?
Look for an RSS icon to access the feed URL to copy: You will typically not use an RSS feed unless you know what you want to feed to your Resources page. It’s not a requirement for creating a custom page.
Would you like to know more about creating custom pages for your website? Check out this support article.

Create SEO-Based Area Pages
Also known as ‘Areas We Cover’, SEO Area Pages in KvCORE allow you to add your own unique content to the different area pages on your KvCORE website. The area pages show at the bottom of your site in the footer.

Clicking on any of these areas displays a statistical page full of relevant information. Depending on your goals, you can fill in even more information to make the page unique and relevant.
Customizing Area Pages
There are basic SEO techniques to specify “keywords” for the page and then fill in content that is relevant to those keywords in a contextual sense.
What that means exactly is that if you put a set of keywords separated by commas, those keywords should be relevant to the text on that page.
If you list the keywords as such, and then you simply list your keywords again on the page, that will not accomplish anything. You would have to write a paragraph or two, or three of content that is related to the keywords that you list.

Would you like to know more about SEO Area Pages? Check out this support article.

Can I Use A Personalized Domain?
Yes! To do so you’ll need to choose between two options, one of which has a cost.
There Are Two Options:
Use a 301 Redirect
This option is FREE.
This will redirect users to the subdomain assigned to your account. After typing in your vanity domain and being redirected to your KvCORE site, the user will see your KvCORE site’s URLs in their browser.
Purchase a KvCORE Add-On
There is a monthly fee for this option. If you choose this path you will purchase a vanity domain add-on from the Marketplace within your KvCORE account. This will allow you to replace your KvCORE subdomain with the vanity domain you choose. When choosing this option, your site’s visitors will only ever see your vanity domain URLs.
The cost is $11 per month with a minimum 3-month commitment.
We Can HELP!
Need some assistance setting either of these two options up? Please let us know and the Service Desk team will be in touch!
Would you like to know more about options for personalized domains? Check out this support article.
Get To Know The Platform
Ready to introduce yourself to the system's features? Let's do this! Here's an introduction to KvCORE and its features. Want to go more in-depth? We've provided links to support articles that go into more detail.
Dashboard
Contacts
Automation
Website
Marketing
Lead Generation
DATA FEEDS
Upload Images
RECORDED WEBINARS
Downloads
Support

Connect With Support & Your Peers
There are plenty of resources available to you when it comes to this fantastic platform! From live support to recorded videos and online learning, you're sure to find what you need.
Our #1 Training tip?:
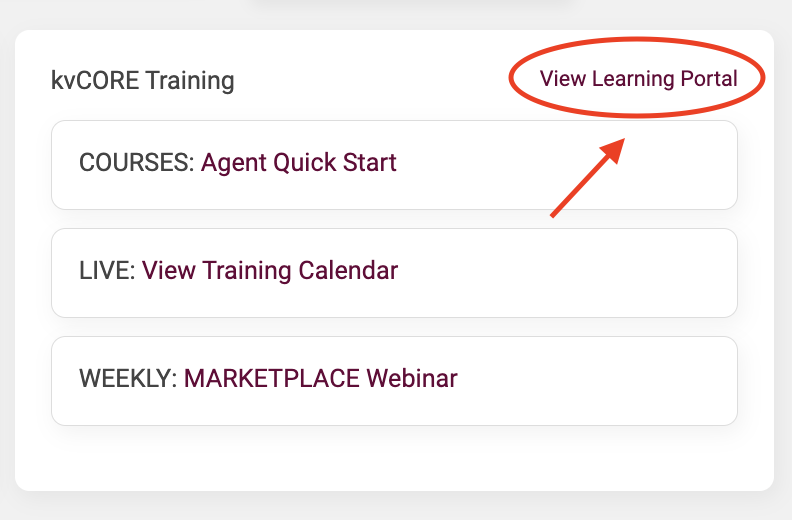 Take the 'Agent Quick Start' course available in KvCORE's Learning Portal once you gain access to your account. This fantastic resource is incredibly thorough and allows you to go at your own pace.
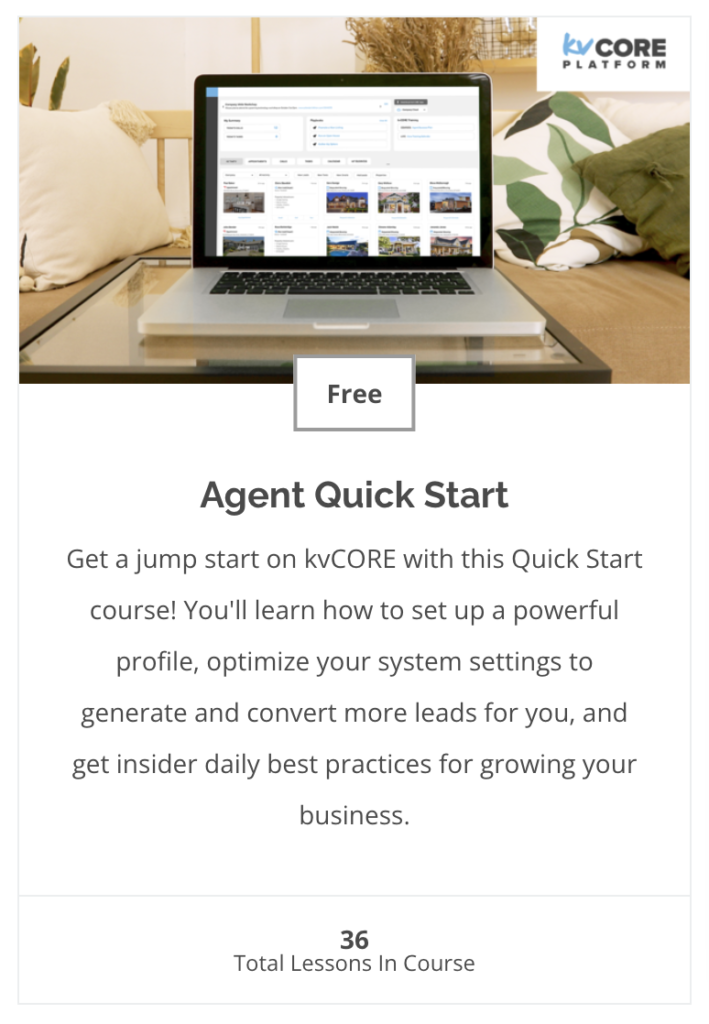 It's likely that you may be interrupted by something while you're learning, and this program is broken down into bite-sized pieces. It also allows you to pick right up where you last left off, whether you're at the end of a section or in the middle of a video.
Whether you're starting from scratch or just need a refresher this is truly one of the best resources available. We can't recommend it enough!
LIVE WEBINARS EVERY WEEK!
Whether you're new to the system or would just like a refresher, these live webinars are a great resource for getting to know the system.
View Recorded Webinars
A collection of past training sessions and webinars hosted by the KvCORE, team. Always available, 24/7.
KvCORE Facebook Group
A great place to see the latest chatter on the product and it's features. Join it to stay up-to-date on the latest news and tips!
KvCORE YouTube Channel
Always being updated, this is a great location to see a collection of how-to videos and tips for getting the most out of the system.
BHHS FLPG Support
Book A Virtual Appointment
Book a one-on-one virtual appointment with a service desk technician.
- https://www.picktime.com/bhhshelpdesk
- Monday - Friday: 6am - 5pm PST
Send an email to open a ticket with our service desk team. and they'll respond as soon as they're able with answers to your questions.
- servicedesk@bhhsflpg.net
- Monday - Friday: 8:30am - 5:30pm EST
Technology Day
Hosted 3 Fridays a month, this is an opportunity to book an in-person 30 minute one-on-one. Pick a date and location and book on our company calendar.
- https://blog.mycabcorner.com/company-calendar/
- Fridays 9:00am - 4:00pm EST, location varies
KvCORE Support
Click on the blue bubble in the bottom right corner of your KvCORE dashboard.
- Monday - Friday: 6am - 5pm PST
- Saturday - Sunday: 9am - 3pm PST
Get in touch with the KvCore support team via email.
- kvcore@insiderealestate.com
- Monday - Friday: 6am - 5pm PST